
Health Management — the three-stage loop
Every sick calf goes through the same lifecycle, whether you've got a system for it or not. The Health page is Calfmate's version of that lifecycle — every open case, every shift, on one screen.
Every sick calf follows the same lifecycle. Something looks off. You decide whether to treat. If you do, you follow it through. Then you check whether she's actually better, and close the case (or treat again). The shed that runs this loop tightly recovers calves quickly. The shed that doesn't lose track somewhere in the middle.
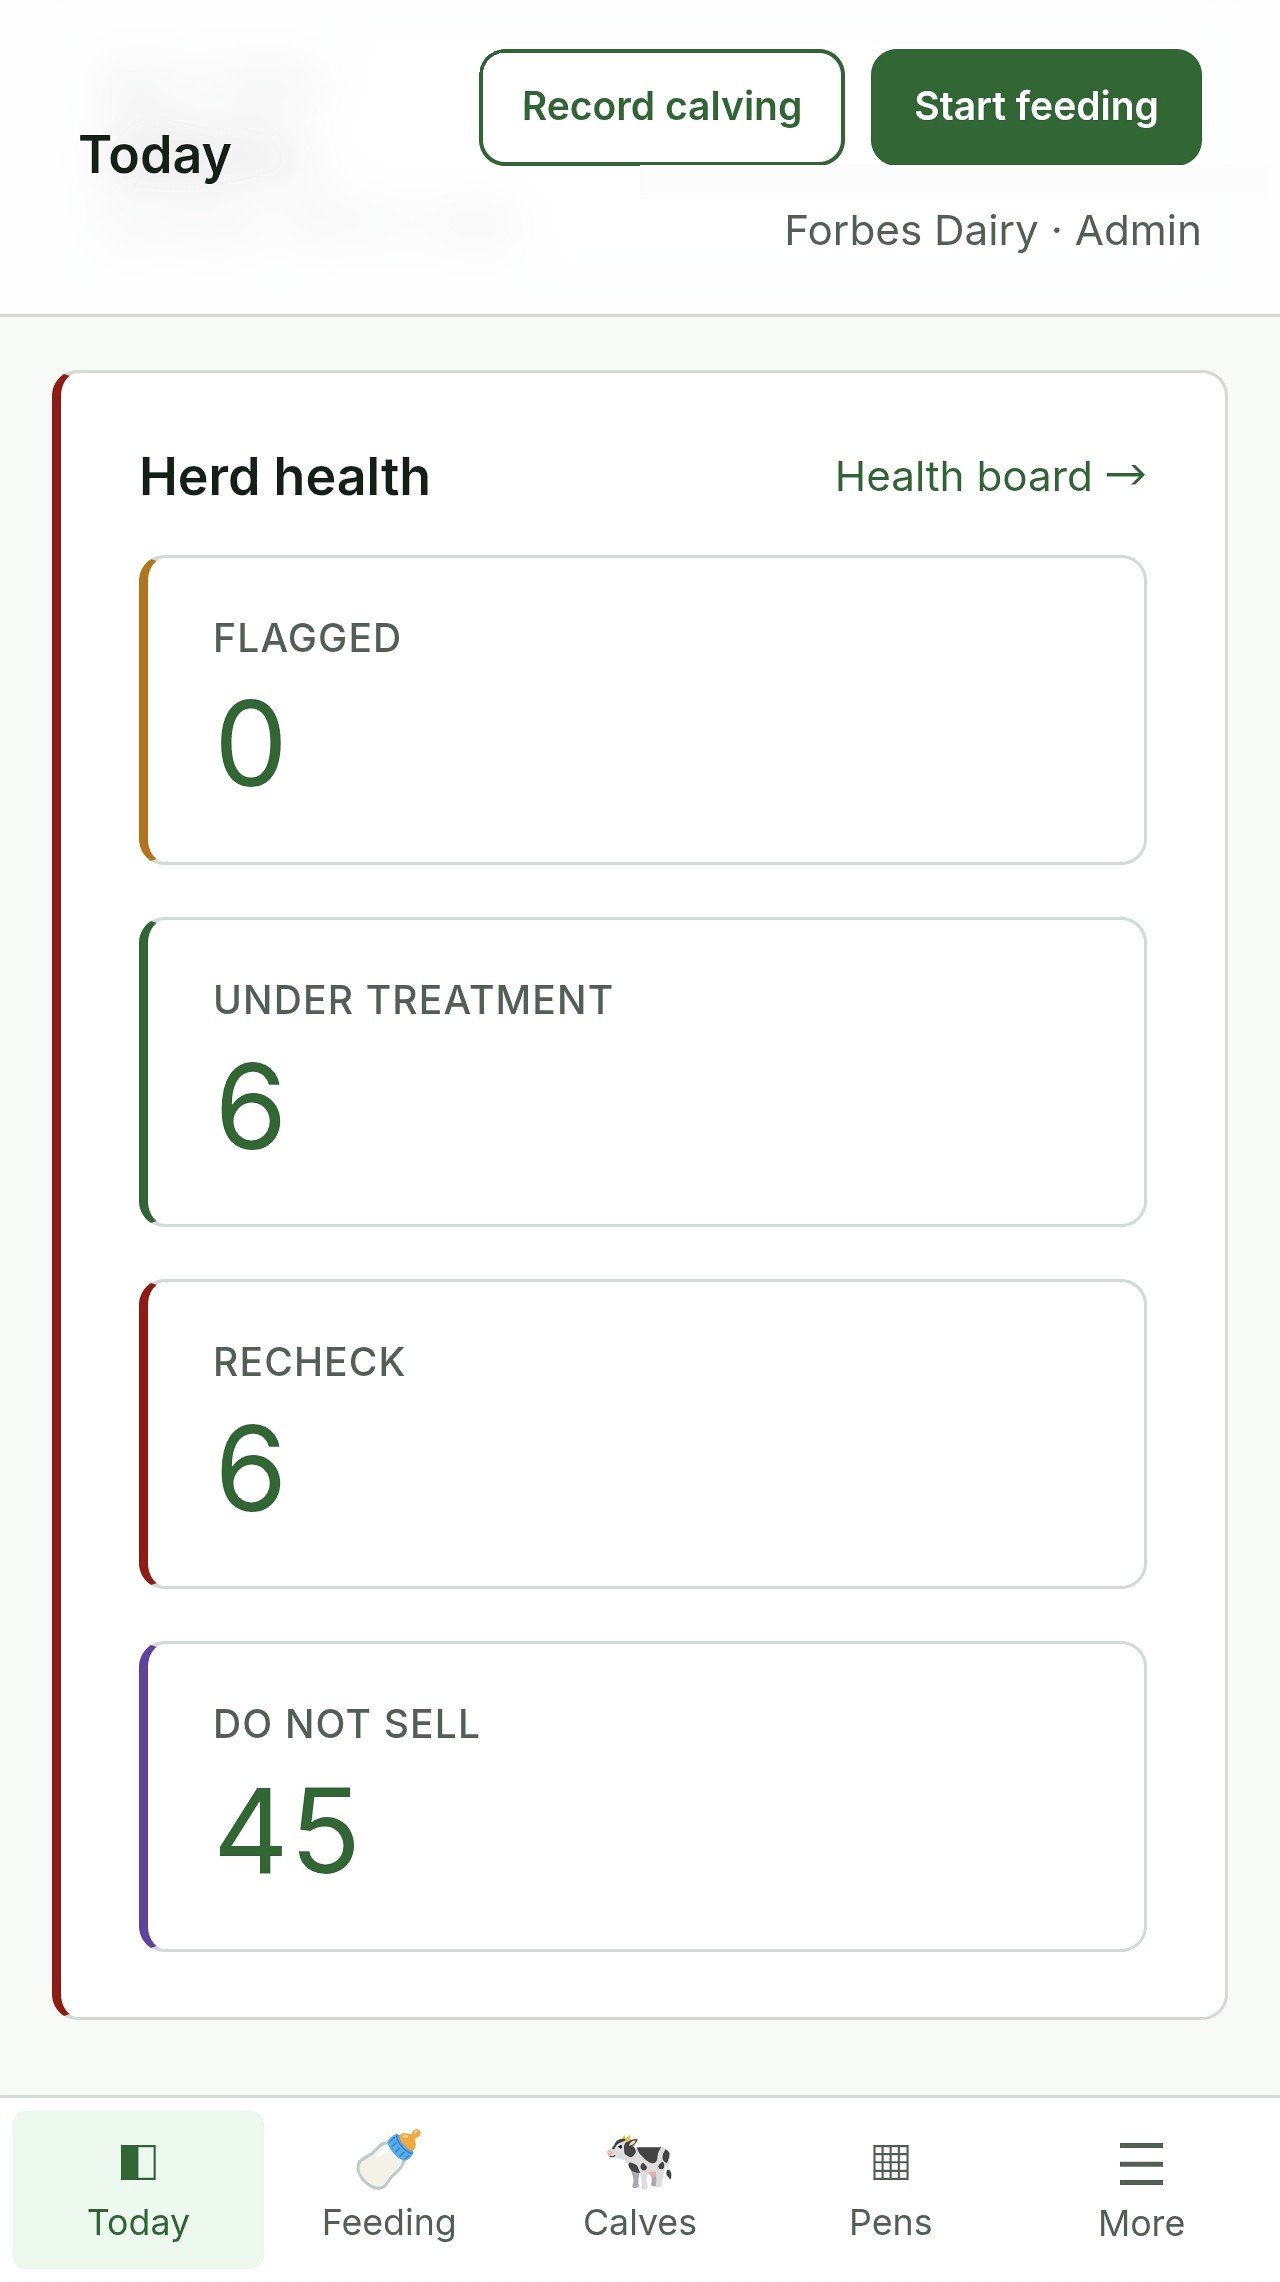
Where to find it
Top nav → Health.
The three stages
The whole workflow on one screen
- Flagged — needs a decision (Treat / Mark healthy).
- Under treatment — treatment course in progress.
- Recheck — course finished; final outcome pending.
Header copy reads: "Flagged → Under treatment → Recheck → closes when recovered." Tap a tile to filter the page to just that stage.
Stage 1 — Flagged
A calf gets here when someone raises a flag during feeding — Watch, Health check, or Electrolytes (see the flag guide).
For each flagged calf you see her ID, pen, age, the note someone left ("drank less", "scour day 1"), and when the flag was raised. Plus a Condition dropdown — pick what you think is wrong:
Unknown · Scour · Respiratory · Navel/Joint · Bloat · Lameness · Injury · Poor doer · Other.
Two buttons:
- Treat — opens Start treatment with this calf pre-selected.
- Mark healthy — closes the case. Calf goes back to the normal flow.
If a flag has been sitting too long with no action, you'll see a Stale badge. Don't ignore it.
Stage 2 — Under treatment
The calf moves here when you tap Treat (or start a treatment from anywhere else). For each treatment in progress you see:
- The protocol or custom drug list.
- Day X / Y progress (e.g. "Day 3 of 5").
- Withdrawal days left (e.g. "WHP: 18 days").
- Record dose(s) — logs today's dose for every drug in the course in one tap.
- Manage — opens Treatments for full controls (cancel, individual drugs).
Each day, open Health and tap Record dose for everyone in this section. That's the whole job — even on a busy week.
Stage 3 — Recheck
The calf moves here the day the treatment course finishes. Three outcomes:
- Mark healthy — closes the case. Back to normal.
- Repeat course — start the same treatment again (e.g. scour didn't clear).
- Change — open Start treatment to switch to a different protocol.
One open case per calf
A calf can only be in one open health case at a time. If she's flagged for scour, then 3 days later she pulls up lame, the lame issue goes onto the same case (it's "her current health episode"). This keeps the page honest and avoids duplicate work.
The daily 5-minute habit
- Open Health. Tap each tile in turn.
- Flagged: make a decision on each. Treat or mark healthy. Don't leave anyone in limbo for more than 24 hours.
- Under treatment: tap Record dose on everyone.
- Recheck: make the call. Healthy, repeat, or change.
Whole loop, five minutes for a shed of 80. The shed runs better when Flagged → Decision happens within 12 hours; beyond that, you lose the signal.
Two tips from real sheds
- Don't be shy with Mark healthy. A short flag-and-clear is a feature, not a problem. Most calves who get flagged turn out to be fine — and that's exactly how it should be.
- Bulk treat outbreaks. If the same condition is appearing on many calves at once, use the bulk Treat flow from the Calves list instead of going one-by-one through Health.
What's not on this page
- No farm-wide health KPIs — those live on the Reports page.
- No automatic disease detection. Flags come from a human eye during feeding; Calfmate doesn't decide who's sick.
One thing to take away
Health management is a loop, not a list. Every calf that enters it exits it — recovered, sold, or moved on. The job is keeping the loop short.
Every open case, every shift, on one screen
Flag from feeding. Treat from Health. Recheck and close. 30 days free, no card.